CREATOR WALKTHROUGH
Palette and brush controls
Jump into chani’s full guide at the palette section.
Play to load YouTube’s video player. Watch on YouTube ↗
Jump to a tool in the walkthrough
Public chapter references. Controls may differ in your current Beta build.
Choose the product, then the color
Find the makeup-product tools, choose the area you want to work on and inspect the available color controls. Try a small stroke before applying color across the face.
The HEX palettes on this site are visual suggestions. We have not confirmed that the current game accepts pasted HEX codes. If it does not, match the color visually in the picker.
Source boundary: these steps follow publicly described creator walkthroughs. We have not tested the current game controls ourselves. Use the linked video to compare your interface; button names and placement may change during Beta.
Eye colour has its own preview and Apply button
Changing the iris color is separate from painting eyeshadow. The customization recording shows an Eye Colour button in the left toolbar.
- Open Eye Colour. Choose a Quick Shade or drag in the color wheel.
- Change Brightness and inspect the face preview. The panel says the color remains a preview until applied.
- Press Apply eye colour to keep the choice, or Cancel to leave the preview.
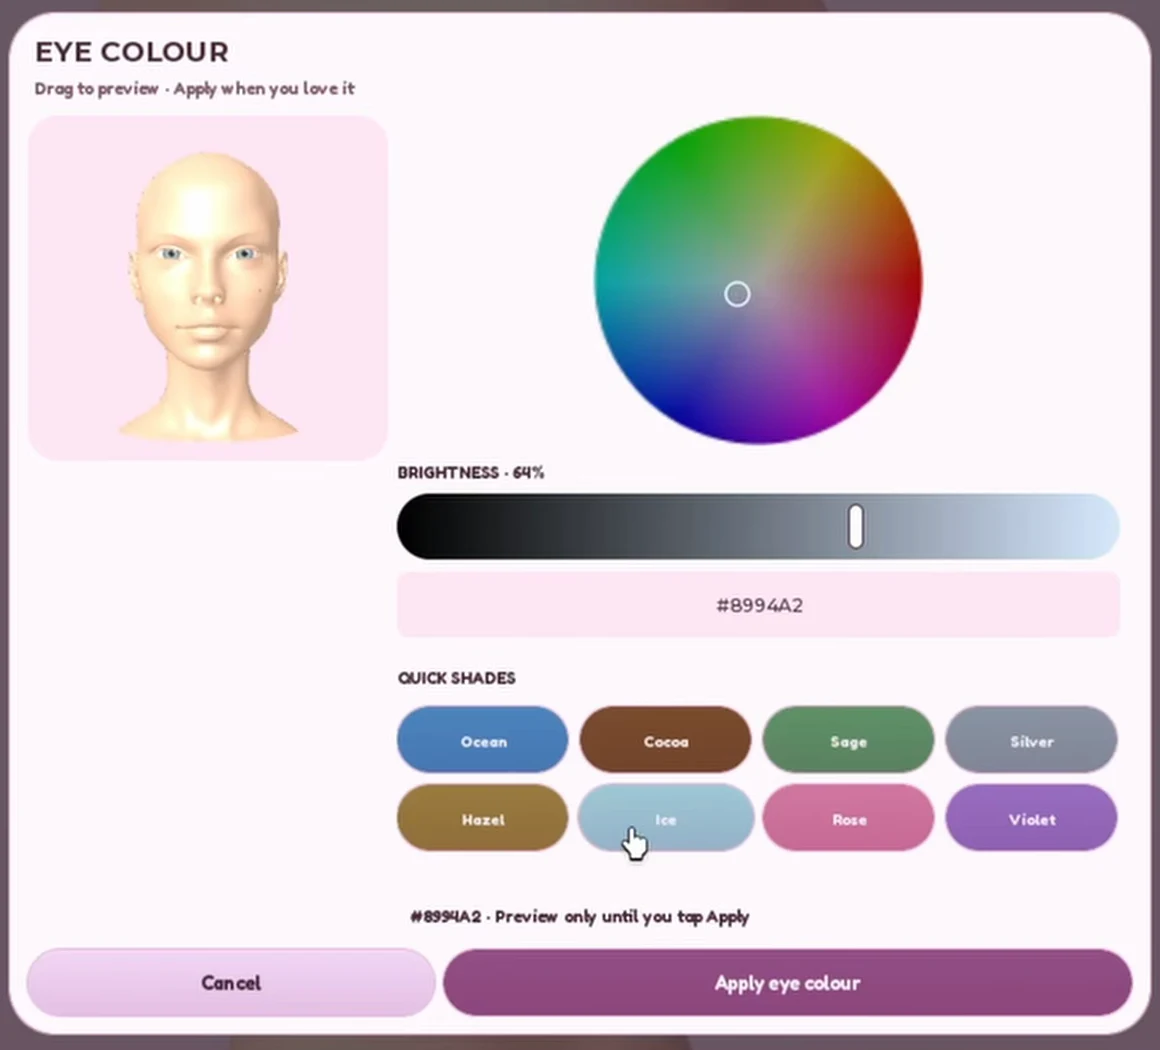
This panel displays a HEX value. The recording does not demonstrate pasting a website palette into it, so our copy buttons remain visual color references.
Plan each makeup area
The public walkthrough chapter references cover the following makeup areas. Use this as a creative checklist; the current tool labels and behavior still need to be compared with your game.
| Area or effect | A simple starting approach |
|---|---|
| Foundation | Check the overall face tone before adding smaller details. Avoid covering a finished feature while testing a new setting. |
| Eyeliner & brows | Use short strokes to define a shape. Compare both sides before thickening a line. |
| Eyeshadow | Start with one main color and add depth toward the outside. Keep one small light accent. |
| Lip liner & lips | Choose an edge and center that work together. Keep the lips quieter when the eyes are your main feature. |
| Blush & contour | Build the effect gradually and inspect the whole face between changes. |
| Highlight & glitter | Place a small accent last. Leave some areas without extra detail so your focal feature remains clear. |
Brush size and strength
A smaller brush is useful for a short liner mark, a brow stroke or a small accent. A broader brush can cover a larger region. Test strength on a small area before repeating a stroke.
There is no single percentage that works for every avatar and product. Avoid changing several settings at once; you will have a clearer idea of what caused the result.
Undo, clear and blending
Locate the correction controls before you begin. Use an Undo control, when available, to reverse a recent change. Reserve Clear for a deliberate restart and read any confirmation message.
The full guide covers correction controls around 4:50 and blending/wipes around 11:10, according to the public chapter references. These are navigation aids, not proof that your current controls are identical.
Brows, liner and asymmetric details
Build a brow or liner shape with small strokes. Pause to compare both sides rather than adding more pigment immediately.
If your build provides mirror or symmetry controls, inspect their state before adding a detail to one side. We have not verified a universal mirror workflow in the current build; compare the video and test a small mark first.